
APNS Setup
This guide helps you through the configuration process for the Apple Push Notification Service (APNS).
-
Go to the Apple Developer Portal and login to your account.
-
Proceed to Certificates, Identifiers & Profiles.
-
Click Certificates -> All.
-
Click the + button to add a new certificate.
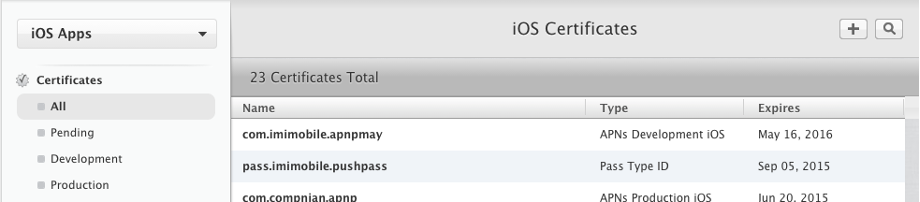
Screenshot of iOS Certificates Page.
-
Select the Apple Push Notification service SSL (Sandbox & Production) option.
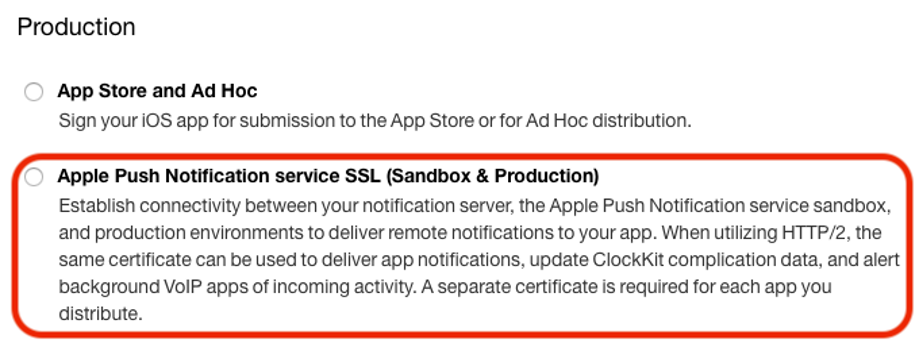
Select the Apple Push Notification service SSL (Sandbox & Production).
-
Select your App ID from the drop-down list and click Continue.

Screenshot of Selecting the App ID.
Create Certificate Signing Request (CSR)
-
Follow the on-screen instructions to create a Certificate Signing Request.
-
Click Continue.
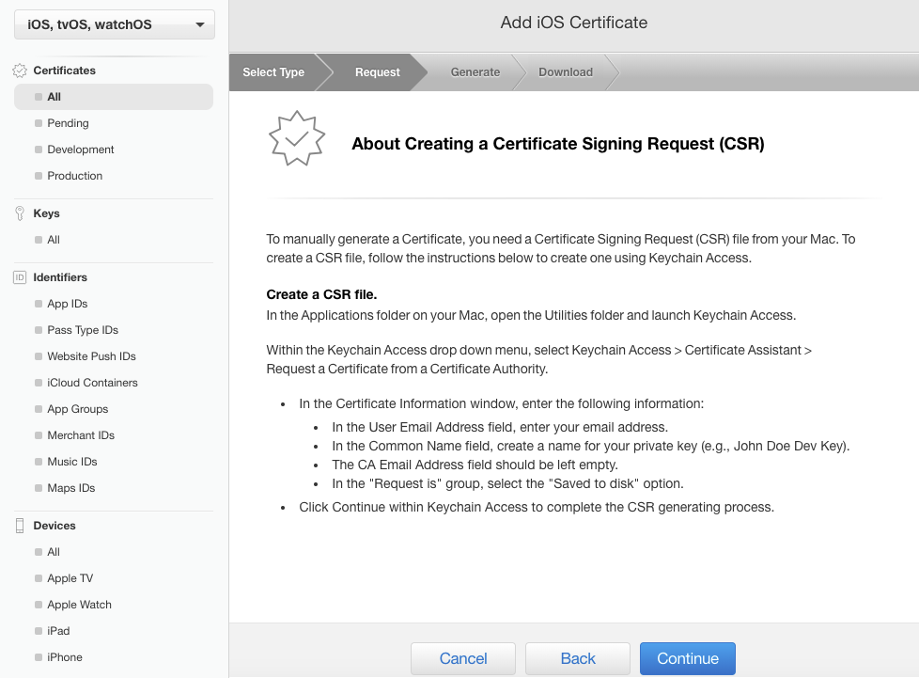
Create Certificate Signing Request (CSR).
-
Click Choose File and select the certificate file that was created in the previous step.

Generate Your Certificate.
-
Click Generate.
Download, install & export the certificate
Once the APNS SSL certificate has been generated it must be downloaded, installed to your Keychain, and exported as a .p12 file. -
Click Download to download the certificate.
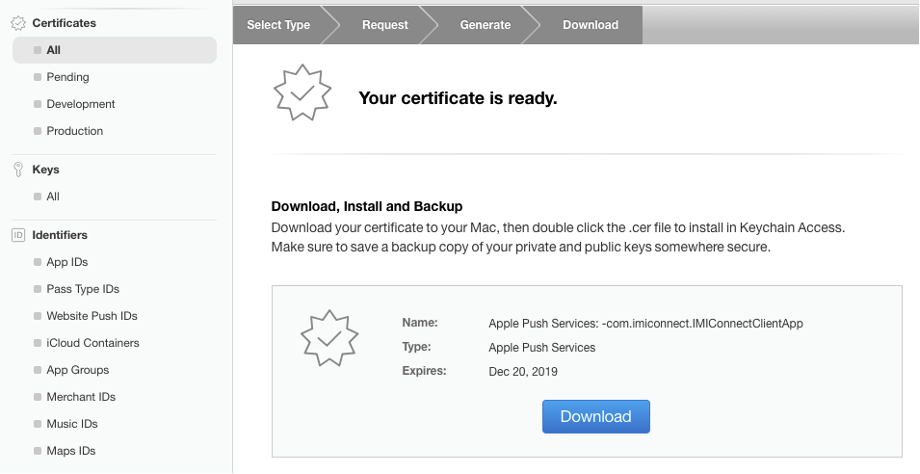
Download Certificate.
-
Open the certificate to install it to your Keychain.
-
Within Keychain Access:
-
Select the login keychain and the category as My Certificates.
-
Locate and select the certificate.
-
Right-click and select Export.
-
Save the certificate as a .p12 file.
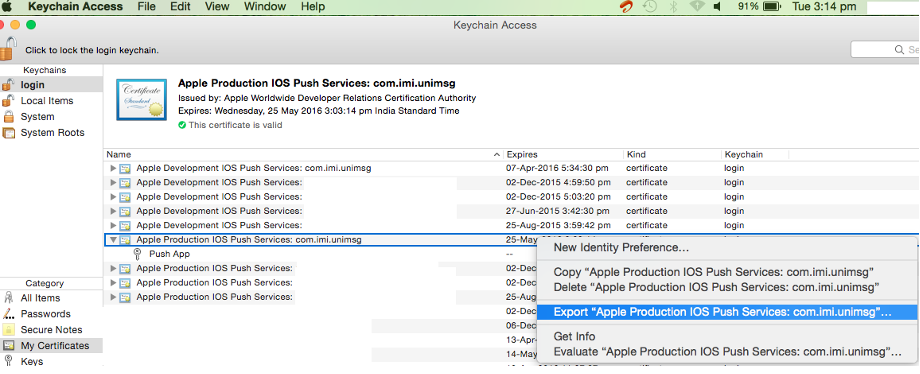
Keychain Access
-
P12 File Export
The exported .p12 file will be used later when configuring your app within Webex Connect.
Updated over 1 year ago