
Setup FCM for Chrome and Firefox Browsers
To create a Firebase project, follow these steps:
- Go to Google Firebase Console.
- Click Add Project.

Firebase Dashboard Page.
- Add the following in the screen that appears:
a. Project name: Enter a name for your project and click on Continue.

Create Project
b. Enable Google Analytics for this project: You can disable it and click on Create project.

Disabling Google Analytics for this project.
c. The console will create a project with the given details.

Project creation in process.
d. Your Project is created, click Continue to proceed.

Screenshot of Project Created.
- On the Project Overview page, click on Web Icon to Add Firebase to your web app.

Screenshot of Add Firebase to Web App.
a. Enter the App name on the following screen that appears and click on Register app.

Screenshot of General Setting Page.
b. Click on the Continue to console.

Screenshot of Project Credentials.
- On the Project Overview page, click the Settings icon > Project settings.

Screenshot of Firebase Project Overview.
-
Ensure Firebase Cloud Messaging API (V1) is enabled: The Firebase Cloud Messaging API (V1) is enabled by default for all the newly created projects. Hence, you can skip the step. However, for existing Firebase projects, you must have Cloud Messaging API (V1) enabled.
Note
The Cloud Messaging API (Legacy) is deprecated, and FCM Server Key-based push notifications
will no longer work.
Screenshot of Firebase Project Settings.
To check, click the Settings icon next to "Project Overview" in the top left of the left-hand menu and select Project settings. Select the "Cloud Messaging" tab.
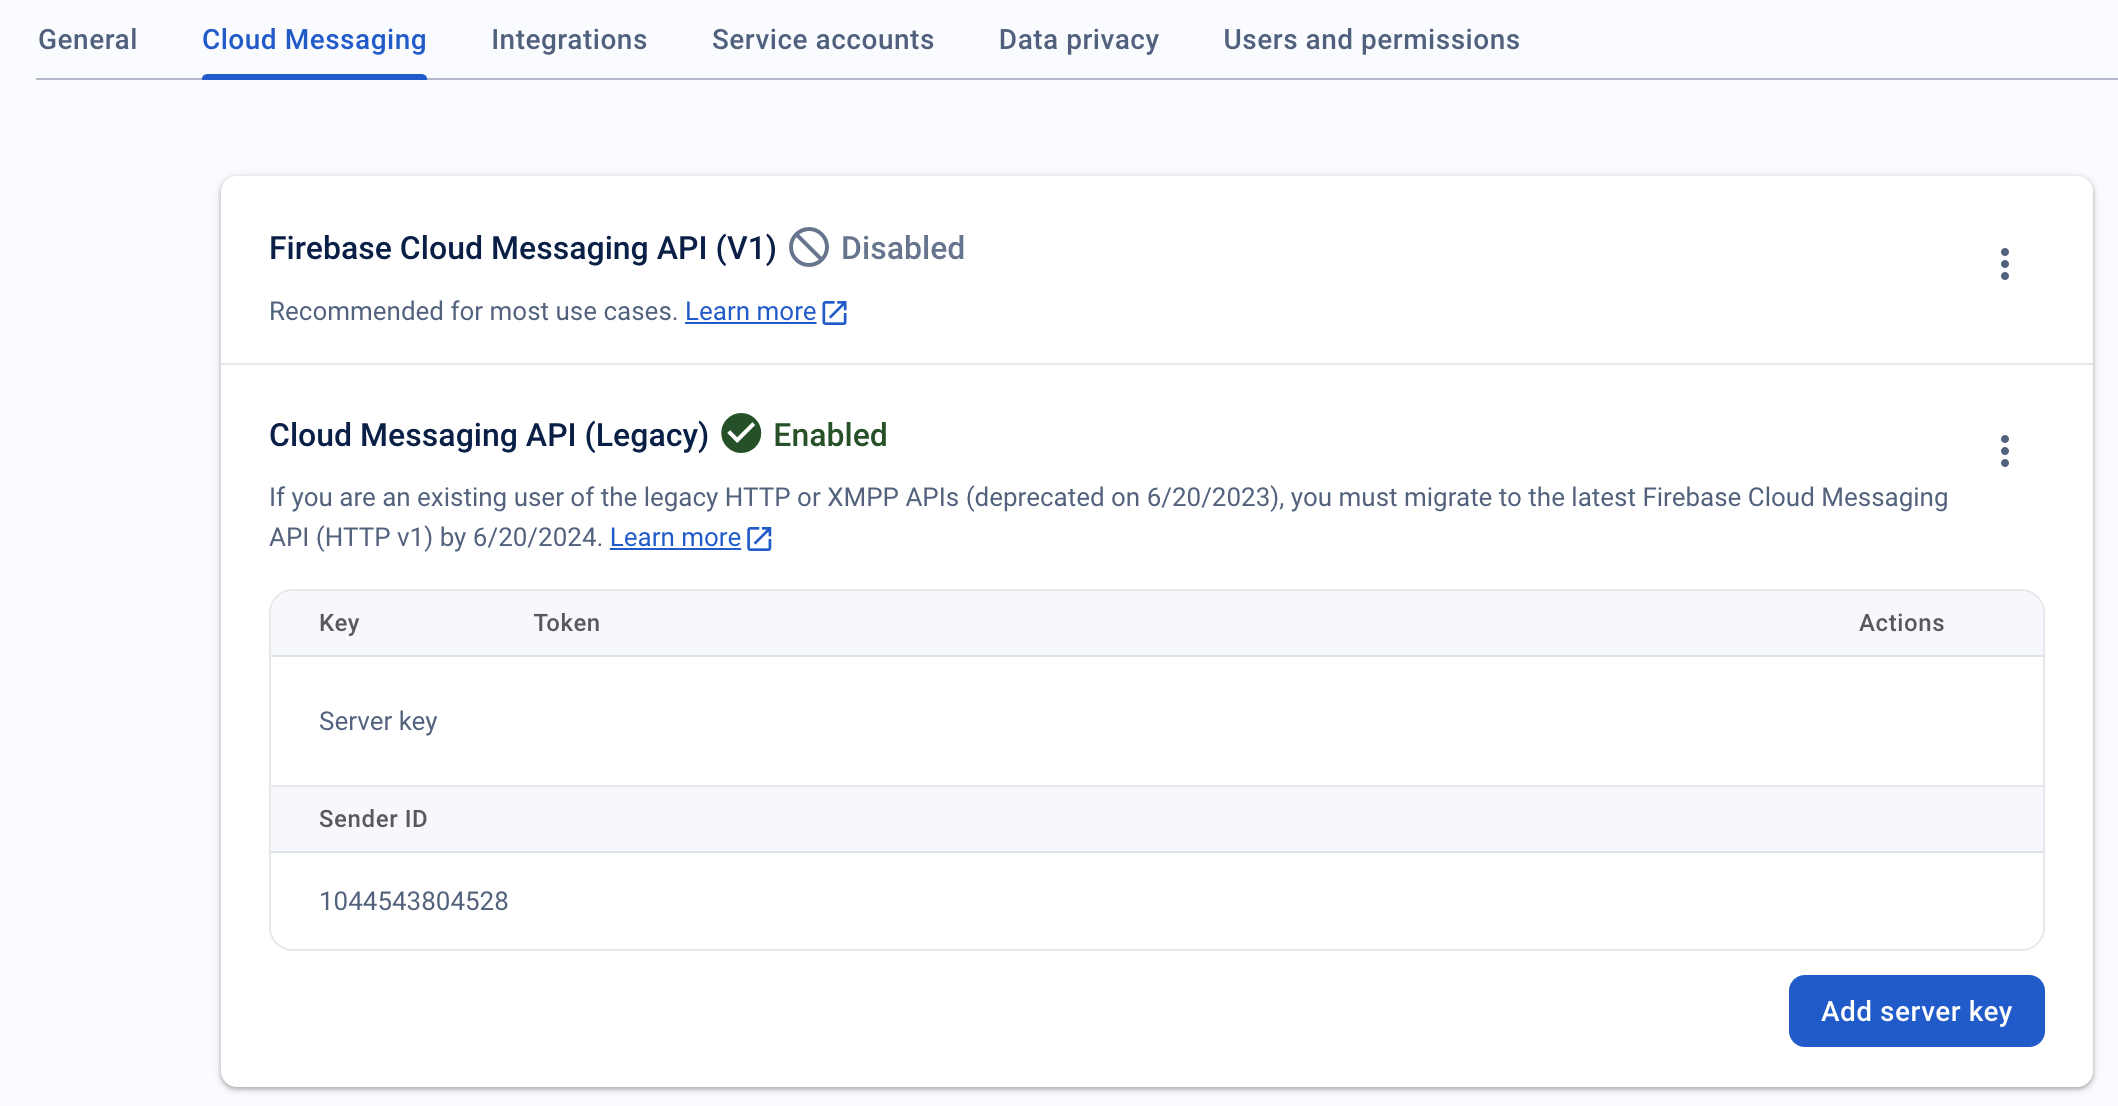
Screenshot of Firebase Cloud Messaging Settings.
If it is disabled, click the More icon (three dots) and click Enable on the Product Details page. It may take a few minutes for the process to complete.
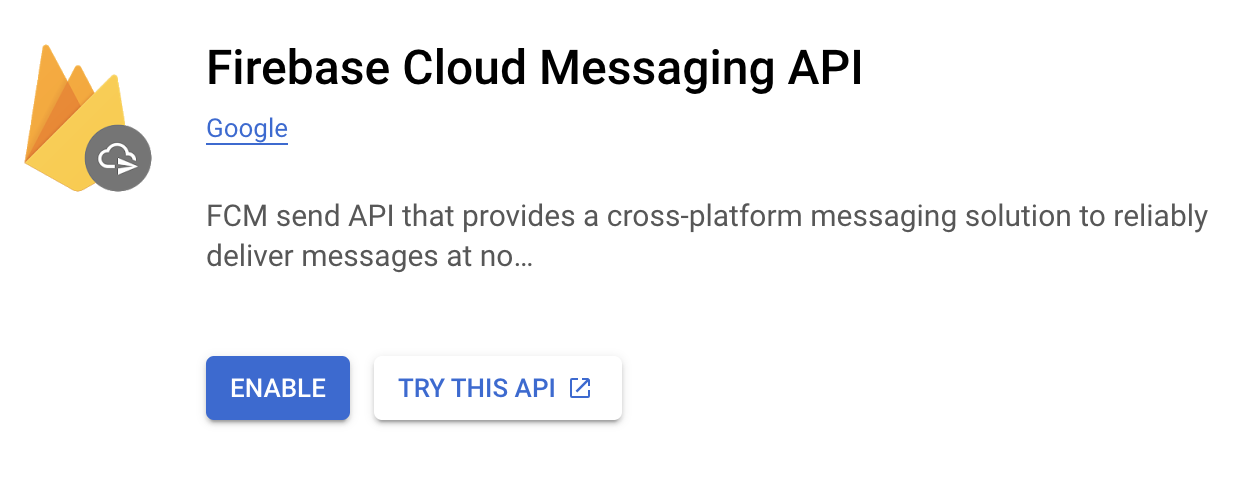
Screenshot of Firebase Cloud Messaging API Popup.
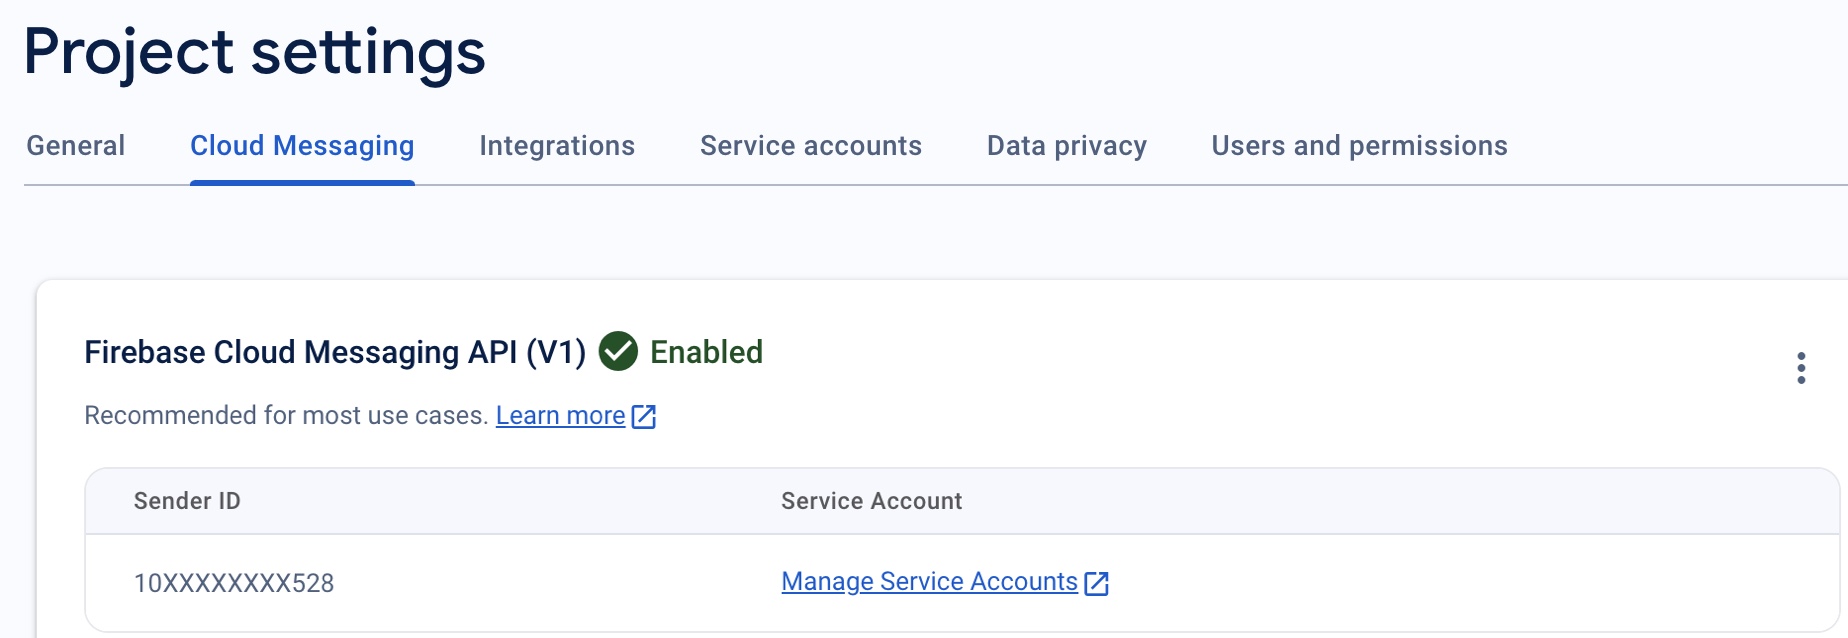
Screenshot of Firebase Cloud Messaging Settings.
-
Click the Settings icon next to "Project Overview" in the top left of the left-hand menu and select Project settings. Then click Service accounts tab.

Screenshot of Firebase Service Accounts.
-
Click Generate new private key, under the Admin SDK configuration snippet.
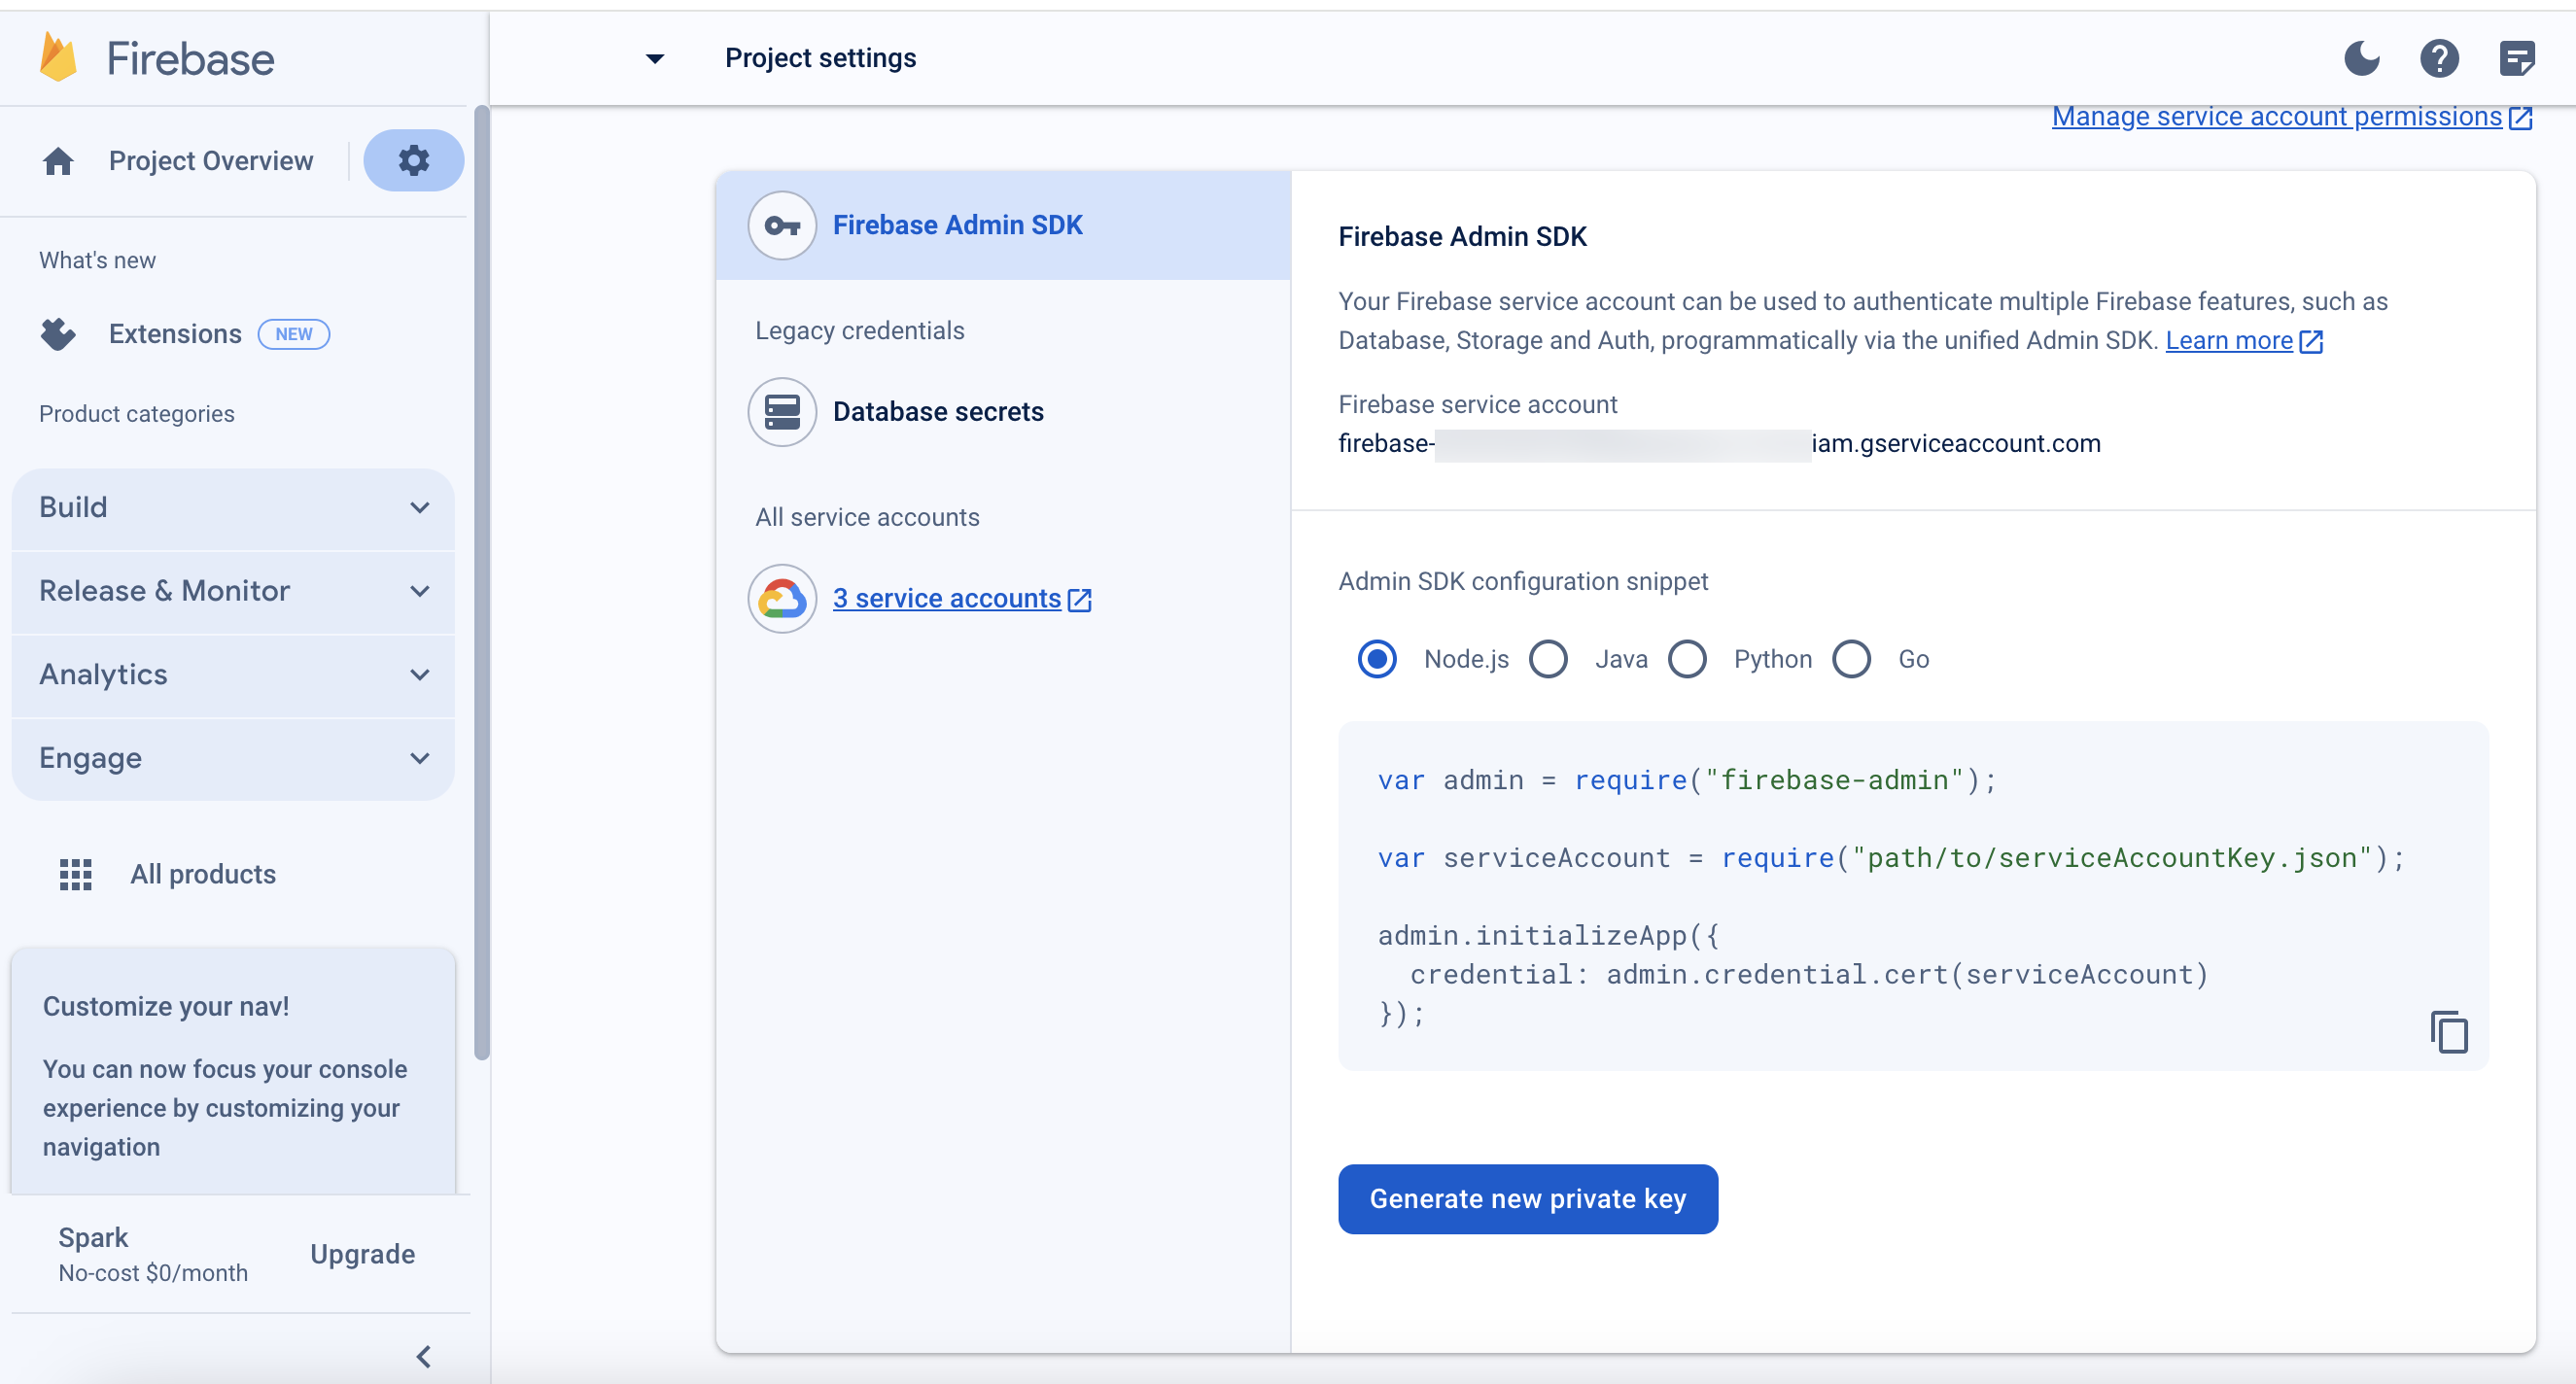
Screenshot of Firebase Admin SDK.
A warning message appears as shown below.
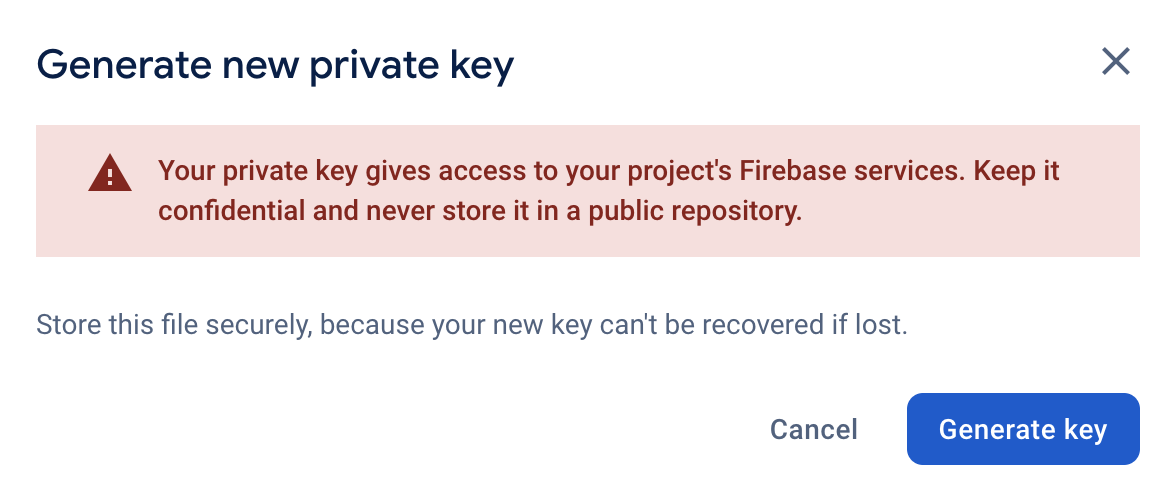
Screenshot of Generating a new private key.
-
Click Generate Key. A JSON file will be downloaded.
Note
Do not edit the downloaded JSON file. This is needed within the next section.
-
Copy the complete firebase configuration object and paste it in the Firebase SDK Snippet and upload the Service Account JSON file in the Webex Connect Web APP setting Page.
Note
Please do not reveal the Snippet details and Service Account JSON file with the end users.
Updated over 1 year ago