
Configure Push-Notification channel for Web-browser
Learn how to configure push notifications for the web browser.
Configure Push-Notification channel for Web-browser
To add a web application in Webex Connect, follow these steps:
- Select browser and click Configure. The Configure Chrome and Firefox Push Notifications pop-up appears.
- Enter the following fields to configure Chrome and Firefox browsers:
- Website URL: Enter the URL of the website to configure Web Push notification.
- Notification Icon: Enter the path of the notification icon. The size of the icon should be 80x80.
- Upload Firebase Service Account JSON: Upload the JSON file that contains the private key to access the FCM HTTP v1 API. To generate a new private key, go to Service accounts in your Firebase project settings.
- Firebase SDK Snippet: Enter the Firebase SDK Snippet generated in the section Setup FCM for Chrome and Firefox Browsers
- Click Save.
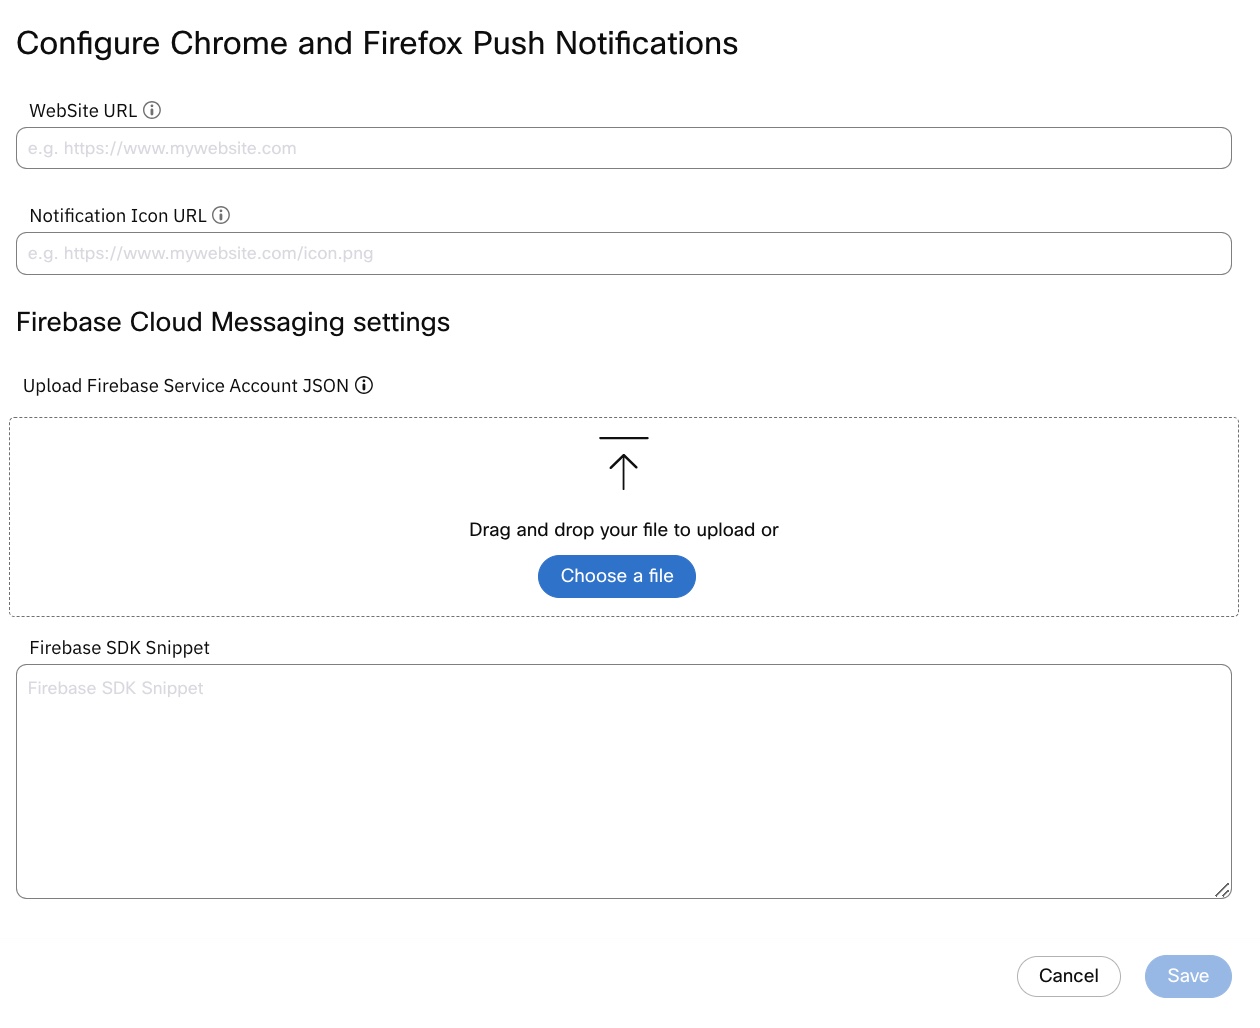
Configure Chrome and Firefox Push Notifications
- Enter the following fields to configure Safari browser:
- Site Name: The name that is entered is displayed on the notification.
- Site URL: The URL that is used to validate the identity of the website requesting push notifications using your ID. Only the website that matches the URL can use your Webex Connect ID for push notifications.
- Notification Icons: It is mandatory to upload all five icons. Click the respective buttons to upload the icons.
- APNS Credentials: Enter the password that is set while generating the certificate in the section Setup APNS for Safari Browser. Leave this field blank if the certificate was generated without a password.
- Name: Enter the name of the APNS file and click Validate. Once the file is validated, the Valid From, Valid Till, and Identifier are auto populated.
- Upload the .p12 certificate .
- Click Save.

Configure Safari Push Notification
Note
After your configure push notification for web browser, it generates a updated imi-environment.js and manifest.json files, which must be re-downloaded and integrated into your JavaScript SDK.
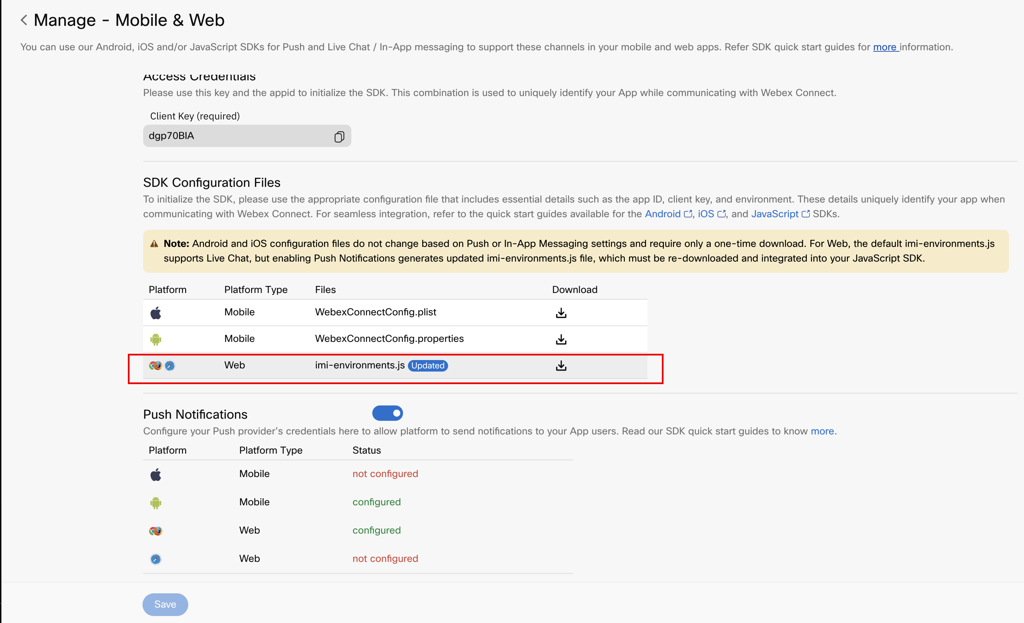
Enabling Web Push Notifications generates updated imi-environment.js
Updated 6 months ago